How to Apply Self Adhesive Wallpaper Step by Step at Home
Self adhesive wallpaper is applied by peeling back the paper liner and pressing the panel onto a clean, dry wall, working from the top down in short sections. There is no paste, no water tray and no soaking time. The whole job runs on three things: a wall prepared properly, a straight first panel, and steady pressure as you go.
Clean and dry the wall, mark a straight vertical line, peel back the top of the liner, press the panel from the middle outward, then peel and smooth in short sections down the wall. Line up each following panel against the last before it touches the surface. Trim at the end, not as you go.
What Do You Need to Apply Self Adhesive Wallpaper?
You need five things: a level or plumb line, a tape measure, a smoothing tool or squeegee, a sharp craft knife with spare blades, and a step ladder. A pencil and a damp cloth help. You do not need a paste table, a bucket or a brush.
Snap to a fresh blade before every trim run. A blade that has already cut three panels drags and tears at the fourth.
How Do You Prepare a Wall for Self Adhesive Wallpaper?
Prepare the wall by washing off dust and grease, filling small holes, sanding the patches flat, and letting the surface dry fully. Adhesive bonds to the top layer of whatever it touches, so loose dust or chalky old paint gives it nothing solid to hold.
Fresh paint needs three to four weeks before anything self adhesive goes over it. Paint feels dry within hours but keeps hardening underneath, and this one wait accounts for more lifted edges than any application mistake.
Run a test patch first. Press an offcut into a low corner, leave it a day, then lift it. If paint comes away with it, seal the wall before you continue.
How to Apply Self Adhesive Wallpaper Step by Step
Work top down in short sections and never peel the full liner off at once. The sequence below covers one wall, first mark to finished panel.
- Measure and mark. Mark one panel width out from your starting corner and draw a vertical line using a level. Corners are rarely true, so the line is your reference.
- Position dry. Hold the panel up with the liner still on and check it reaches past the top and bottom edges.
- Peel the top only. Fold back a hand's width of liner across the top and leave the rest attached.
- Fix the top edge. Line the panel to your pencil mark, then press that strip on working outward from the middle.
- Work down in sections. Pull the liner down a hand's width at a time, smoothing from the middle out to both edges before pulling more.
- Keep the edges last. Press the middle before the outer edges. Edges pressed early lock the panel down and force any excess inward.
- Trim at the finish. With the panel flat, run the knife along the top and bottom against a straight edge, then cut around fittings.
Section by section is slower than hanging the panel like a sheet, and it is the reason a first attempt comes out straight. Peel everything at once and the panel folds onto itself, and the backing does not release cleanly after that.
How Do You Line Up the Second Panel and Every One After?
Line each new panel against the finished edge of the previous one while the liner is still on, then peel and press once the match looks right. Butt the edges together rather than overlapping, because an overlap leaves a ridge that catches light down the whole wall.
If the design has a repeat, match it at eye level rather than at the ceiling. Eye level is where a mismatch gets noticed.
How Do You Cut Around Corners, Switches and Fittings?
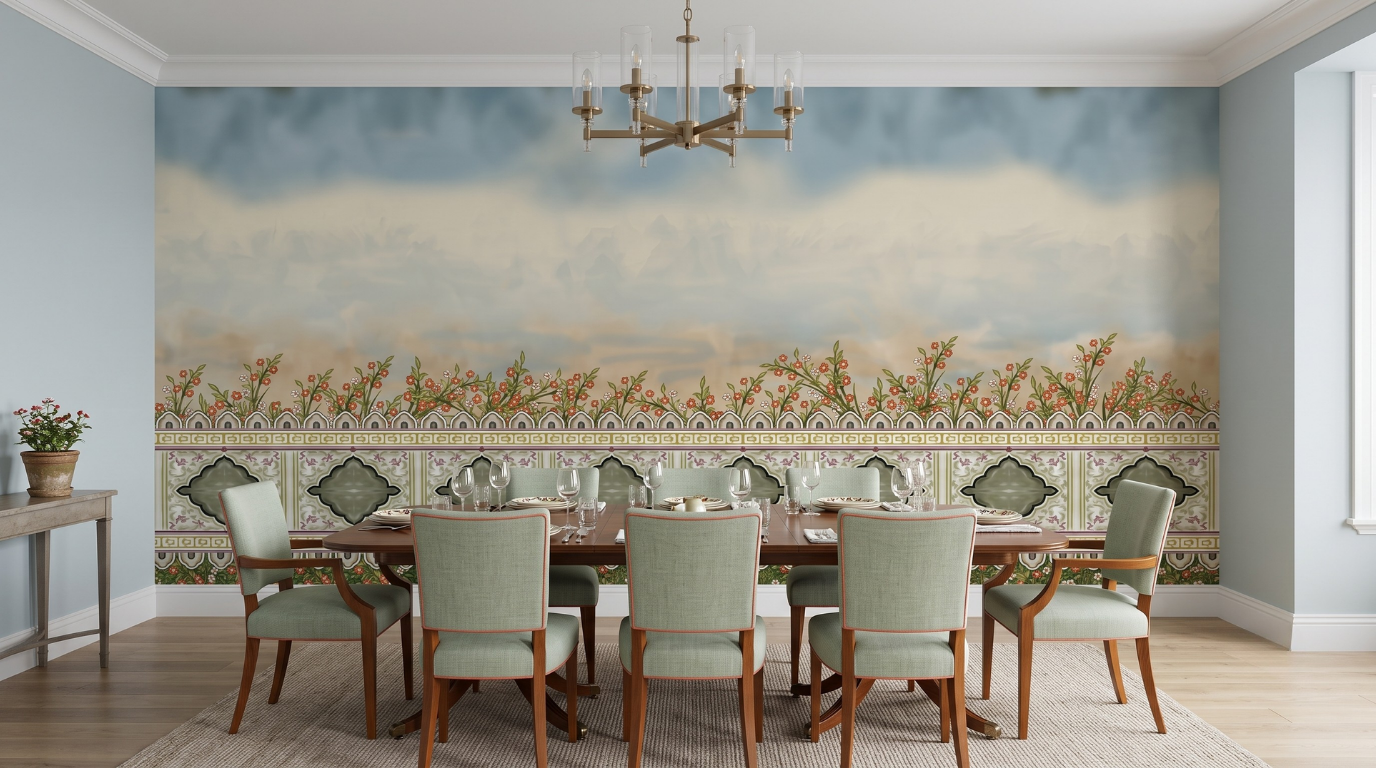
Cut fittings out after the panel is flat, not before. Press the wallpaper over the fitting so the outline shows through, pierce the middle, cut diagonally out to each corner, then trim the flaps back against the edge.
At internal corners, let the panel carry around slightly and start the next one on a fresh vertical line. Walls lean, and a panel that follows a leaning corner carries that lean across the room.
Where Self Adhesive Wallpaper Works Best at Home
It works best on smooth, sound, fully dry surfaces: painted plaster, a wall behind a bed, a hallway run, a study wall. Heavy texture is the usual limit, because the adhesive meets the raised points and skips the hollows.
Every panel is made to measure, so it arrives cut to your wall rather than trimmed from a standard width, which keeps joins low. Browse the self adhesive wallpaper range to see how sizing is set before printing.
One person can do a wall alone, but a second pair of hands halves the time on a tall wall, purely for holding the top steady.
Designs in the stick on wallpaper collection apply the same way whatever the pattern, and the peel and stick wallpaper range follows the same method for renters who need a clean removal later.
Frequently Asked Questions
Do you need to wet self adhesive wallpaper before applying it?
No. Self adhesive wallpaper carries its own adhesive on the back and goes on dry. Water is only for cleaning the wall beforehand, and the surface must be fully dry before the first panel goes up.
How long should paint dry before self adhesive wallpaper goes over it?
Wait three to four weeks after painting. Paint is touch dry in hours but keeps hardening underneath, and wallpaper applied too early can lift the film when it is eventually taken off.
Can you reposition a panel after it has touched the wall?
Yes, within the first few minutes. Lift slowly from a corner at a shallow angle and press it back down. Repeated lifting picks up dust and weakens the bond, so aim to correct once.
Does self adhesive wallpaper stick to textured walls?
Only lightly textured ones. Adhesive needs flat contact, so on a heavy texture it grips the raised points and leaves gaps behind. Sanding back or lining the wall first gives a far better result.